Sciatica has a way of disrupting daily life without warning. A simple walk, a car ride, or even sitting can trigger sharp, nagging pain that travels down the leg and makes movement feel uncertain. Many people try stretching or rest, only to find the discomfort keeps coming back.
Resistance bands help reduce pressure on the sciatic nerve by creating gentle traction, guiding safe nerve motion, and strengthening the muscles that support the hips and lower spine. Unlike aggressive stretching, bands allow you to stay in control of tension and range, which is essential when a nerve is irritated. When applied correctly, they support pain relief while lowering the risk of flare-ups.
This article explains why sciatica occurs, how resistance bands work differently from stretching, and how to follow a step-by-step sequence to relieve pain and prevent recurrence.
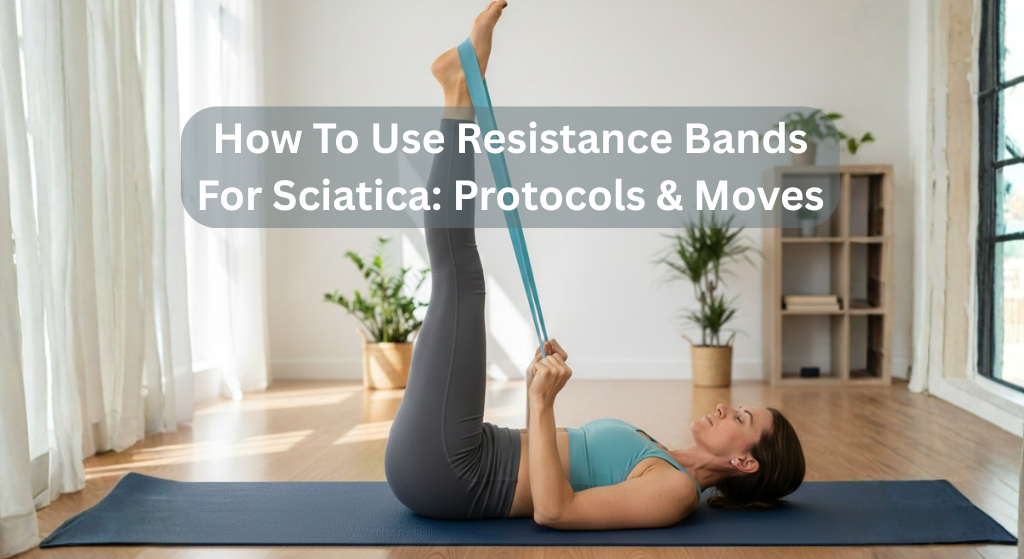
How To Use Resistance Bands For Sciatica: Protocols & Moves
Sciatica is usually not the real problem. It is a signal. The sciatic nerve becomes irritated when it is compressed, most often by a tight piriformis muscle or pressure from the lower spine.
Resistance bands offer an important advantage. Unlike gravity-based stretching, which can increase pressure on an already sensitive nerve, bands allow controlled traction and movement. You stay in charge of the range and intensity.
The goal is centralization of pain. This means symptoms move out of the leg and back toward the source, which is a key sign that decompression is working.
Flossing versus stretching
Stretching pulls on muscles and joints. When a nerve is involved, that pulling can make symptoms worse.
- Neural gliding, also called flossing, works differently. Resistance bands guide the nerve through gentle back-and-forth movement inside its natural pathway. This helps reduce irritation without placing the nerve under tension.
- Stability matters just as much. Unstable hips create protective tension in the nervous system. Bands activate the glute medius, which stabilizes the pelvis and often leads to immediate symptom relief.
The decompression protocol
This phase is for active pain. The focus is calming the nerves, not pushing flexibility.
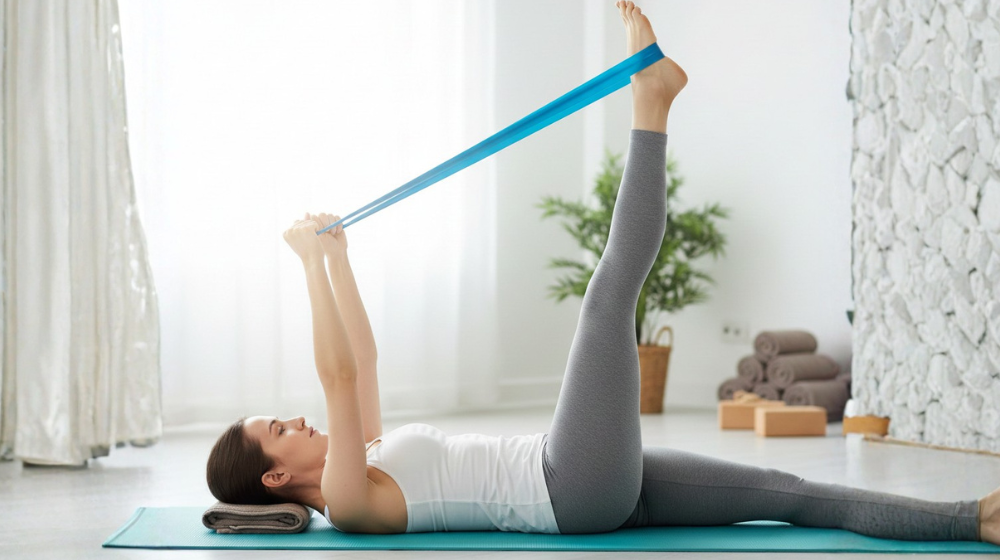
Supine sciatic nerve floss
Lie on your back and loop a light resistance band around the mid-foot of the painful leg.
- Lift the leg with the knee bent
- Slowly straighten the knee while pointing the toes away
- Bend the knee again while pulling the toes toward you
This motion allows the nerve to slide without being stretched. It should feel smooth and controlled.
Banded distraction leg traction
Anchor a heavier band low and loop it around your ankle. Lie on your back and let the band gently pull the leg straight out.
- Relax fully
- Breathe slowly
- Hold for about two minutes
This creates space in the hip joint and lower spine, reducing nerve pressure.
The release and mobilize protocol
This phase is best when pain has settled, but movement still feels limited.
Cross-body piriformis release
Lie on your back and loop the band around your foot. Keep the leg straight and guide it across your body.
- Keep hips level
- Avoid twisting
- Stay within a comfortable range
This targets the piriformis muscle without stressing the spine.
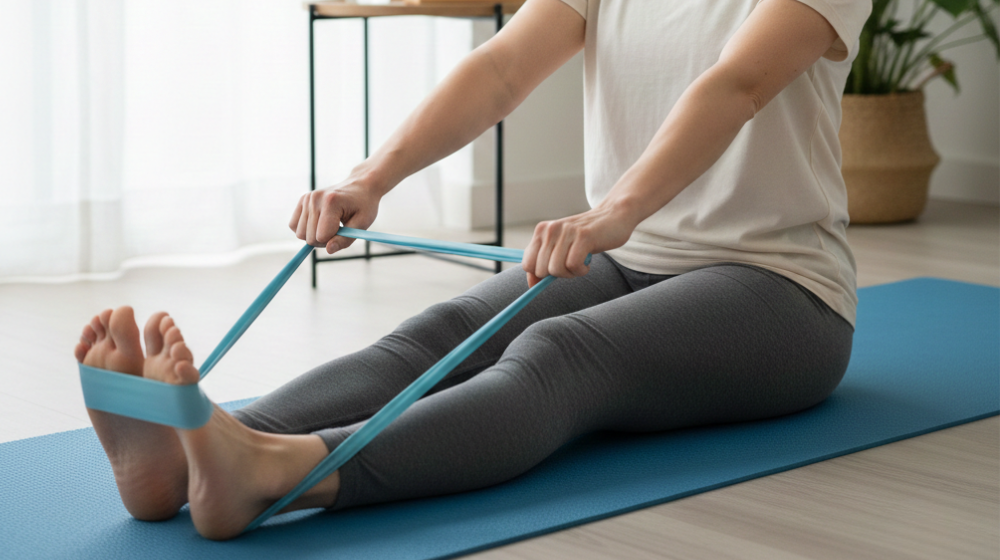
Seated hamstring isolation
Sit upright with a flat back and loop the band around your foot.
- Hinge forward from the hips
- Keep the spine neutral
- Stop before nerve symptoms appear
Reducing hamstring tension helps take pressure off the pelvis and lower back.
The stabilization protocol
This phase helps prevent recurrence once symptoms improve.
Banded clamshells
Place a mini band just above the knees and lie on your side.
- Keep hips stacked
- Open the top knee slowly
- Avoid rolling backward
This strengthens the glute medius, a key stabilizer for the pelvis.
Supine bridges with abduction
Lie on your back with a band above the knees.
- Lift hips into a bridge
- Press knees outward against the band
- Lower with control
This builds strength through the hips and posterior chain while reinforcing proper alignment.
Critical safety warnings
Sciatic nerves respond best to patience and precision.
- Follow the tingle rule. Increased numbness or tingling means stop immediately.
- Avoid forward folding, such as standing toe touches, which increase disc pressure.
- Control band tension. Use lighter bands for flossing and heavier bands only for traction.
Relief should feel calming, not aggressive.
Conclusion
Lasting sciatica relief comes from doing things in the right order. Decompress the nerve, guide safe movement, then strengthen the muscles that protect it. Resistance bands make this process controlled, effective, and accessible when used with intention.