Gravel riding can feel freeing, but the constant shake of rough surfaces can leave your body worn out fast. Many riders expect a smooth flow like road cycling, only to find new aches creeping in as the miles add up. If this sounds familiar, you’re not alone.
Gravel riding brings its own mix of impact, posture demands, and muscle strain. The good news is that most pain has a clear cause and a simple solution. With the right setup, form, and recovery habits, you can ride longer without feeling beaten up. This guide breaks down the real reasons you hurt and the practical steps that help ease it.
You’ll learn what causes gravel riding pain, how to fix common problem areas, what gear makes a difference, and when pain means it’s time to stop.
Gravel Riding Pain Relief Guide: 10 Key Factors
Gravel rides stress the body in ways smooth roads don’t. The constant vibration and quick changes in terrain force your muscles to work harder to stay steady. Even small bumps can build up strain over time.
Common trouble spots include the hands, wrists, neck, shoulders, lower back, knees, and saddle area. Each reacts differently to rough surfaces, long postures, and poor bike setup.
Understanding the Causes of Pain in Gravel Riding
Gravel riders deal with steady vibration, quick impacts, and uneven pressure shifts. These create a mix of fatigue, tightness, and irritation.
Key causes include:
- Vibration and impact from rough terrain
- Forward, fixed body positions that overload certain muscles
- Incorrect bike fit that forces joints into awkward angles
- Overuse and muscular fatigue from long days on the bike
Common Pain Points and Their Relief Strategies
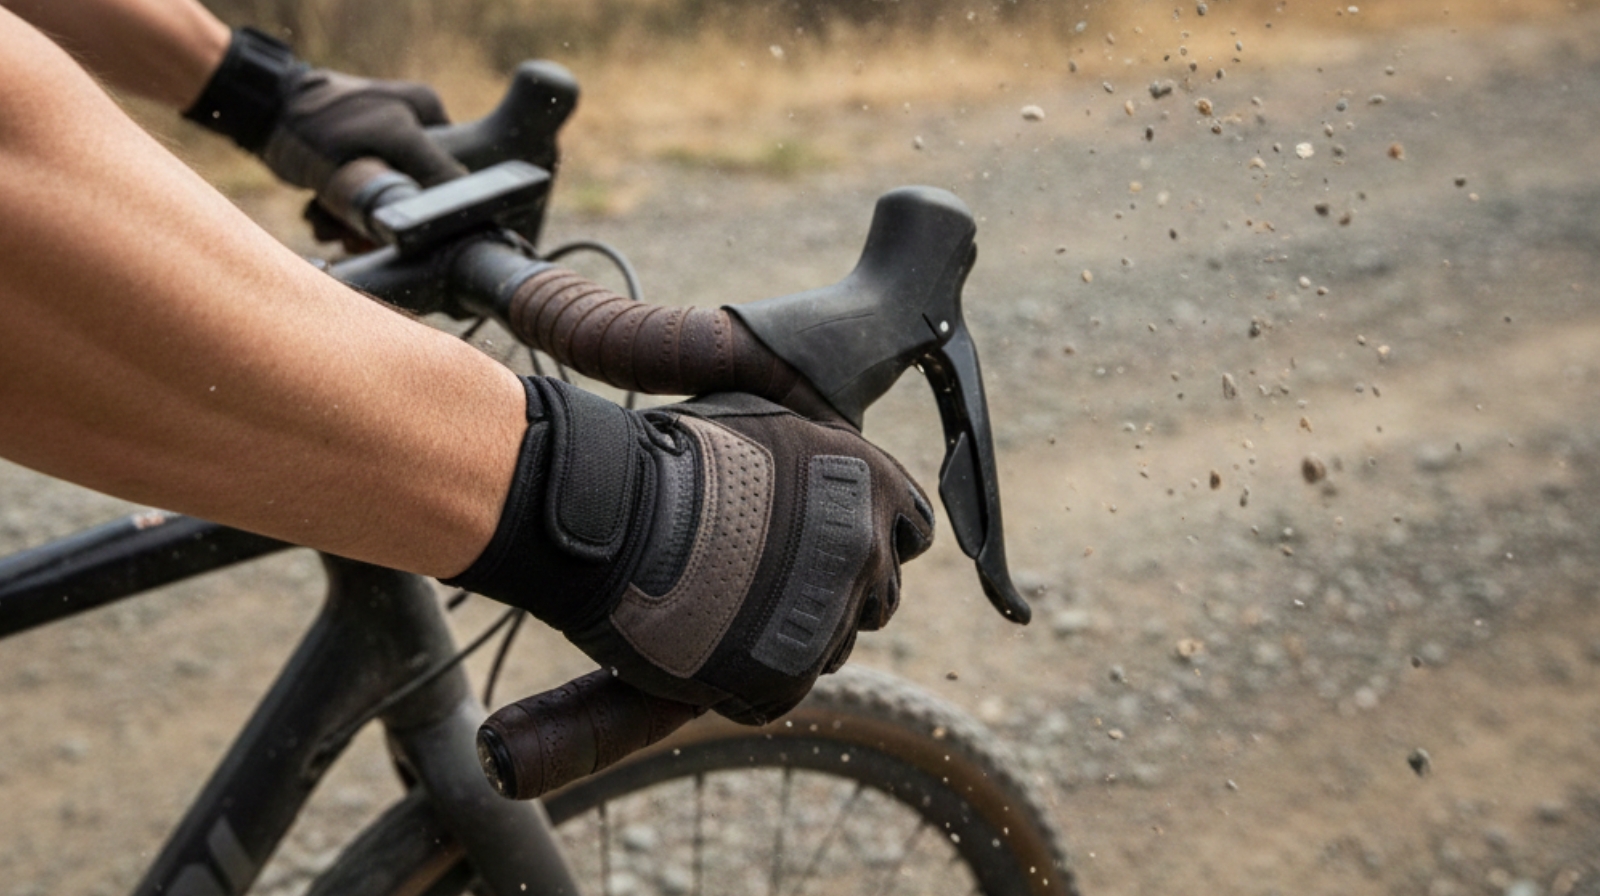
Hand and Wrist Pain
Constant shake from the bars and a tight grip can strain the small joints of the hands.
What helps:
- Proper handlebar setup with the right width and angle
- Padded gloves to soften vibration
- Relaxed grip so your hands don’t take all the stress
Neck and Shoulder Pain
A long forward posture makes the upper body work nonstop to hold your head up.
What helps:
- Posture adjustments to reduce hunching
- Stretching before and after rides
- Handlebar height changes to bring your torso to a comfortable angle
Lower Back Pain
Weak core muscles and a poor fit can force your back to compensate on rough ground.
What helps:
- Core strengthening several times a week
- Saddle adjustments to improve support and hip angle
Knee Pain
Knee discomfort often comes from how your foot sits on the pedal or how you manage your cadence.
What helps:
- Cleat alignment that supports natural knee tracking
- Smart gearing choices that avoid grinding
Saddle Pain
Pressure points form when the saddle shape or angle doesn’t match your body.
What helps:
- Saddle angle and height correction to reduce numbness
- Padded shorts for steady comfort on long rides
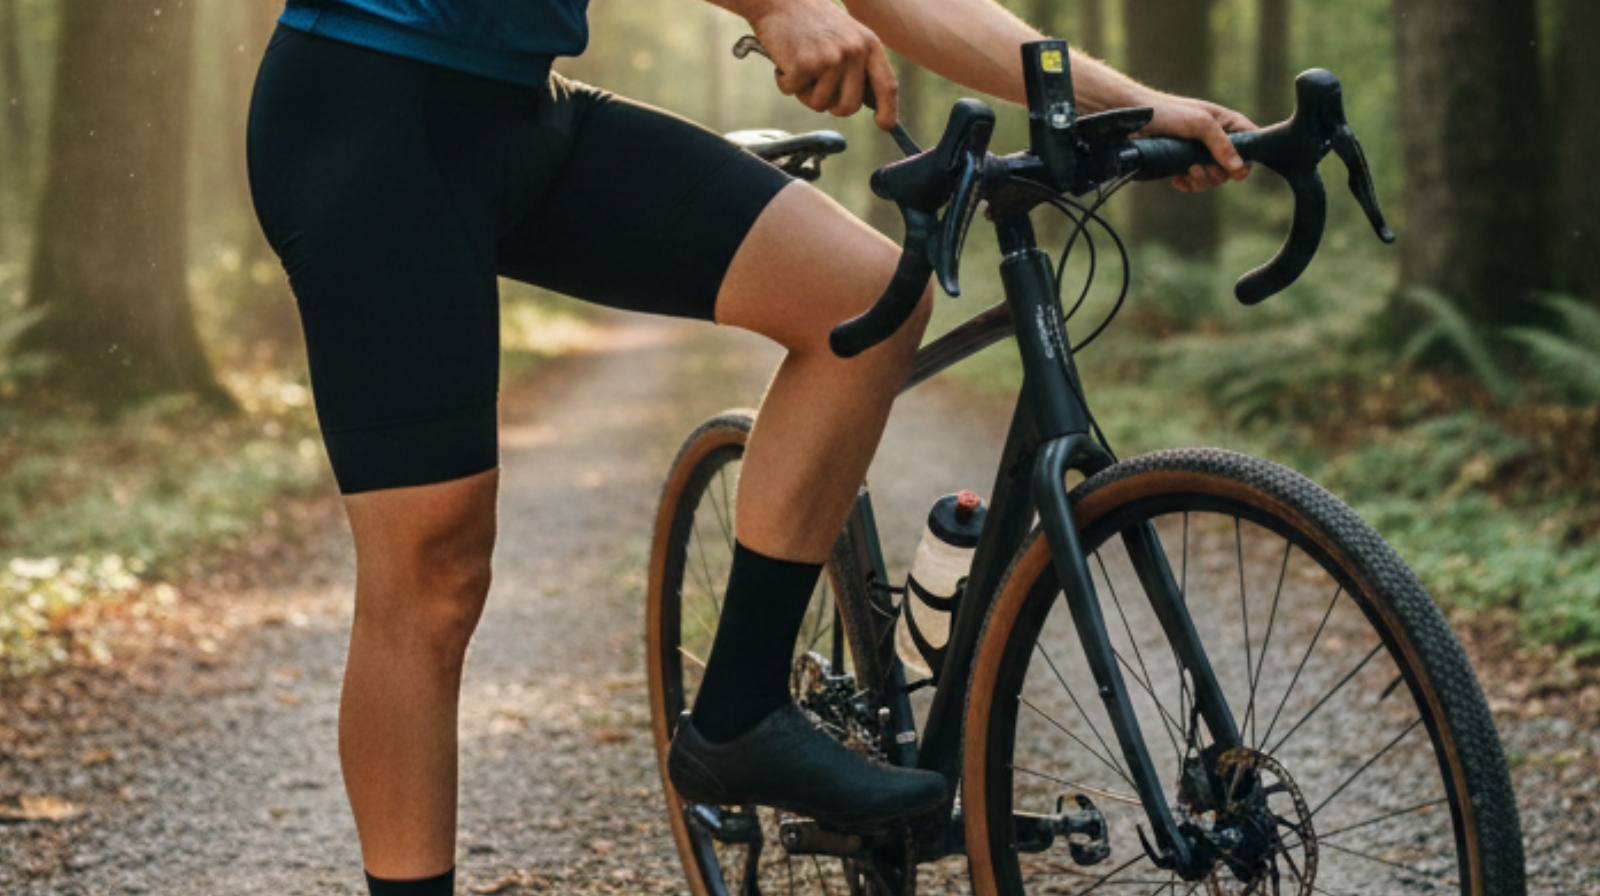
Bike Fit Essentials for Pain Prevention
A good fit is one of the strongest tools you have. Small tweaks can remove big problems.
Key areas to review:
- Saddle height and fore-aft position to support smooth pedaling
- Handlebar height and reach to reduce strain on the back and shoulders
- Cleat placement and pedal alignment for safe knee tracking
- Tire pressure settings to soften bumps and reduce shock
On-Ride Pain Relief Techniques
Your body can feel better during the ride when you learn to adjust on the go.
Try these habits:
- Relax your grip and shoulders so they don’t tense up
- Change hand positions to reduce pressure buildup
- Stand and shift weight every so often
- Use controlled breathing and pacing to stay steady
Off-Ride Recovery Strategies
What you do after a ride matters just as much as the ride itself.
Helpful recovery steps:
- Stretch major muscle groups while the body is still warm
- Foam roll tight spots to improve mobility
- Hydrate and refuel with simple carbs and protein
- Rest between long rides to avoid chronic overuse
Strength and Mobility Exercises to Reduce Pain
Stronger, more mobile muscles hold steady on rough terrain and reduce injury risk.
Focus on:
- Core stability work like planks and dead bugs
- Hip and glute strengthening to support power and posture
- Upper-body mobility for easier handling
- Cycling-friendly flexibility work for smoother movement
Gear and Equipment for Pain Relief
Your setup can play a big role in comfort, especially on gravel.
Consider:
- Padded gloves and shorts for steady pressure relief
- Vibration-damping bars and seatposts to reduce shock
- Wider tires with lower pressure for a smoother roll on rough ground
- Supportive shoes and insoles for better foot alignment
When Pain Signals a More Serious Issue
Some pain needs more than a simple adjustment.
Watch for:
- Sharp or sudden pain that worsens during the ride
- Numbness or tingling that does not go away
- Swelling or reduced joint movement These signs mean it’s best to stop and rest. If pain continues, a medical or bike-fit professional can help find the cause.
Conclusion
Gravel riding can be comfortable and rewarding when your fit, form, strength, and recovery habits work together. With practical adjustments and consistent care, most riders can ease common aches and enjoy longer days on the bike. Regular checks of your bike setup and body signals will help keep every ride smoother and more fun.