Cleats enable a smoother pedaling motion by promoting full foot engagement throughout the pedal rotation, ensuring both downward force and upward pull. This balanced effort utilizes various muscle groups, minimizing fatigue for an efficient ride.
To install cleats on cycling shoes, gather your tools and remove existing cleats. Align the new cleats with the shoe holes, screw in the bolts, adjust the position, and tighten securely. Finally, test the cleats on the bike to ensure proper installation.
In this blog, you will learn about proper cleat installation, essential tools, shoe preparation, attaching cleats, troubleshooting tips, and more about cycling shoe cleats! Gear up and join the ride!
Key Takeaways
- Gathering necessary tools, including a torque wrench and grease for captive nuts.
- You will need to prepare your cycling shoes and cleats. This includes removing old cleats, cleaning shoe soles, and positioning your cleats properly.
- Installing cleats by loosely attaching them to the shoe, adjusting their position for comfort and efficiency, and securing them with a torque wrench.
- After installation, making necessary micro-adjustments and testing the cleats' position with a short bike ride is important.
- Troubleshooting common issues such as knee pain and loose cleats are essential to ensure an efficient ride and to prevent damage to the cleats or shoes.
How To Install Cleats On Cycling Shoes: Step-by-Step Process
The generous cleat size enhances pedal connection, facilitating increased power transfer when paired with rigid-soled shoes. As the pedals are typically single-sided, mastering the technique to position the pedal correctly can be challenging for beginners. Here is a Step-by-Step Guide to Installing Cleats on Cycling Shoes.
Prepare the Tools
Gathering the right tools and preparing your cycling shoes before starting the cleat installation process is essential for a smooth and accurate setup.
Essential Tools You Need
To install cleats on your cycling shoes, you will need the following tools:
- Allen Wrench (4mm): This tool is crucial for tightening the cleat screws.
- Torque Wrench: Use this tool to ensure the screws are tightened to the correct specification without over-tightening.
- Grease for Captive Nuts: Applying grease to the captive nuts helps prevent rust and ensures easy removal in the future.
Preparing Your Cycling Shoes and Cleats
Preparing your shoes and cleats properly before installing new cleats will help ensure a smooth installation and better results.
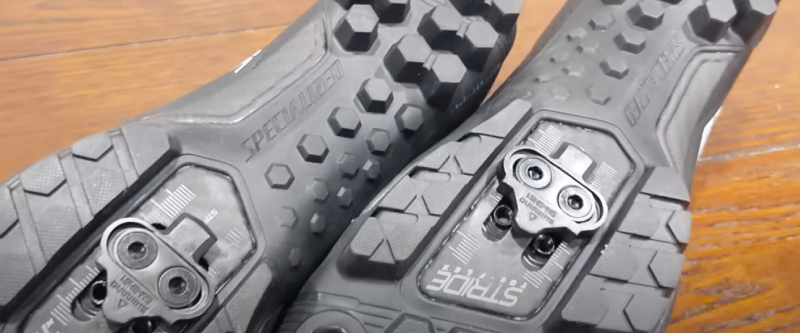
Removing Old Cleats
If you have old cleats on your shoes, you'll need to remove them first:
- Use an Allen wrench (4mm) to unscrew the old cleats' bolts.
- Remove the cleats gently to avoid damaging the shoe soles.
Cleaning Shoe Soles
Clean shoe soles are essential for a good cleat installation. Here’s how to clean them:
- Remove Dirt and Debris: Wipe the soles lightly with a damp cloth.
- Check for Damage: Find any damages on the soles that might affect the new cleat installation.
Positioning Your Cleats
Proper positioning of your cleats is vital for comfort and efficiency. Here’s how to do it:
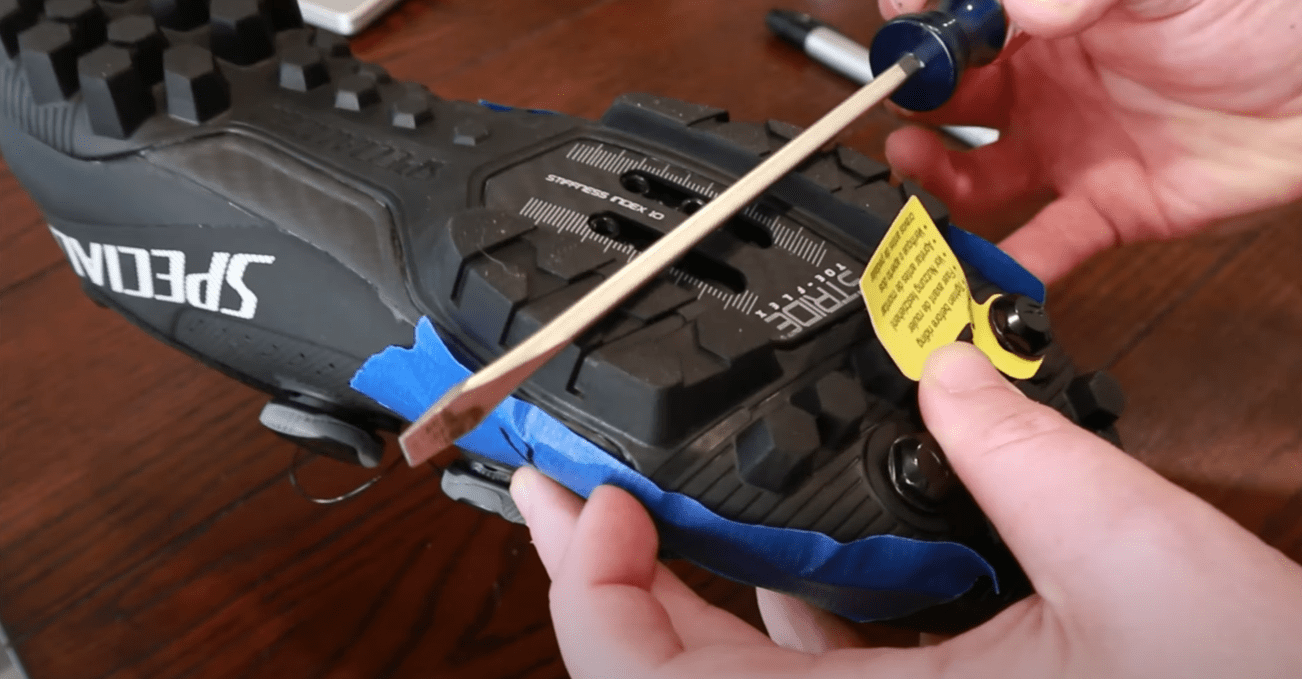
Determining Ideal Cleat Position
Finding the right position for your cleats is the first step:
- Aligning with Ball of Foot: Place the cleat to align with the ball of your foot. This is where most of your pedaling power comes from.
- Ensuring Proper Distance from Crankarm: There should be enough space between the cleat and the crankarm. This prevents rubbing and allows smooth pedaling.
Installing the Cleats
Once your shoes and cleats are prepared, it's time to install them correctly:
Loosely Attaching Cleats
Start by loosely attaching the cleats to your shoes:
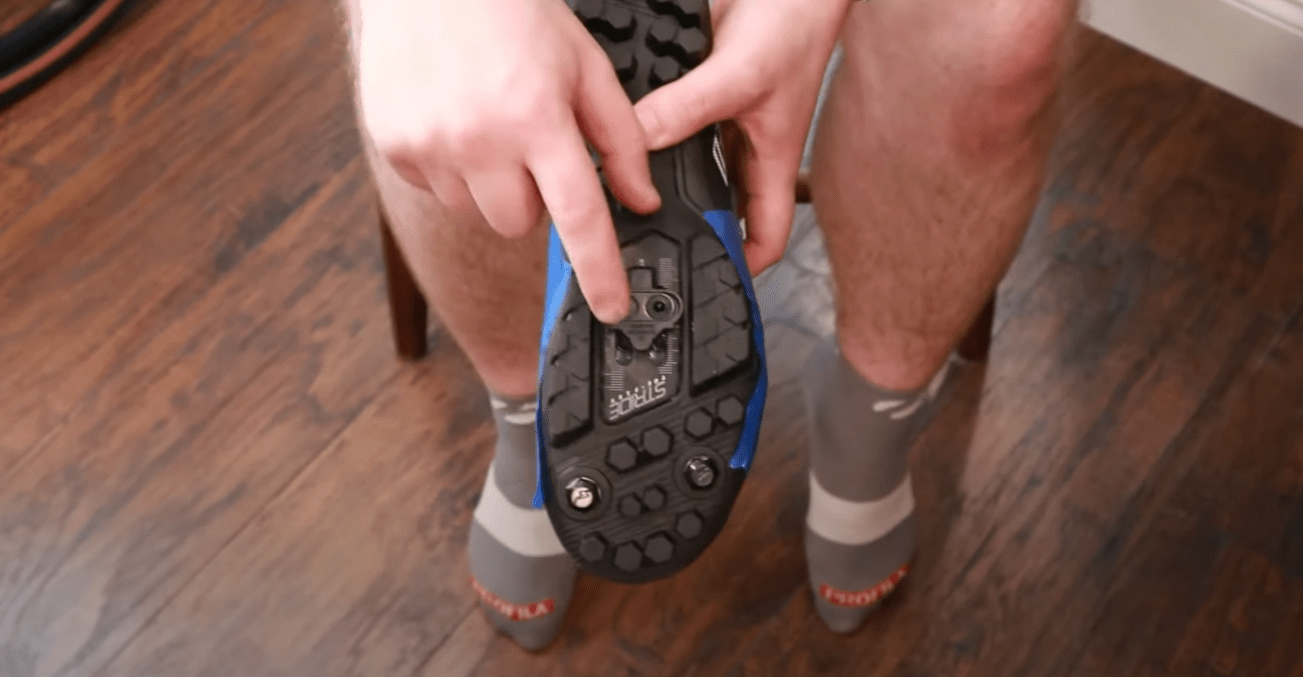
- Insert the screws into the cleat holes and position the cleats on the shoe soles.
- Use an Allen wrench to turn the screws just enough to hold the cleats in place but keep them loose for adjustments.
Adjusting Cleat Position
Proper adjustment ensures comfort and efficiency:
- Centering Pedal on Cleat: Place your shoe on the pedal and make sure the cleat is centered. This helps with balanced pedaling and prevents discomfort.
Tightening Bolts
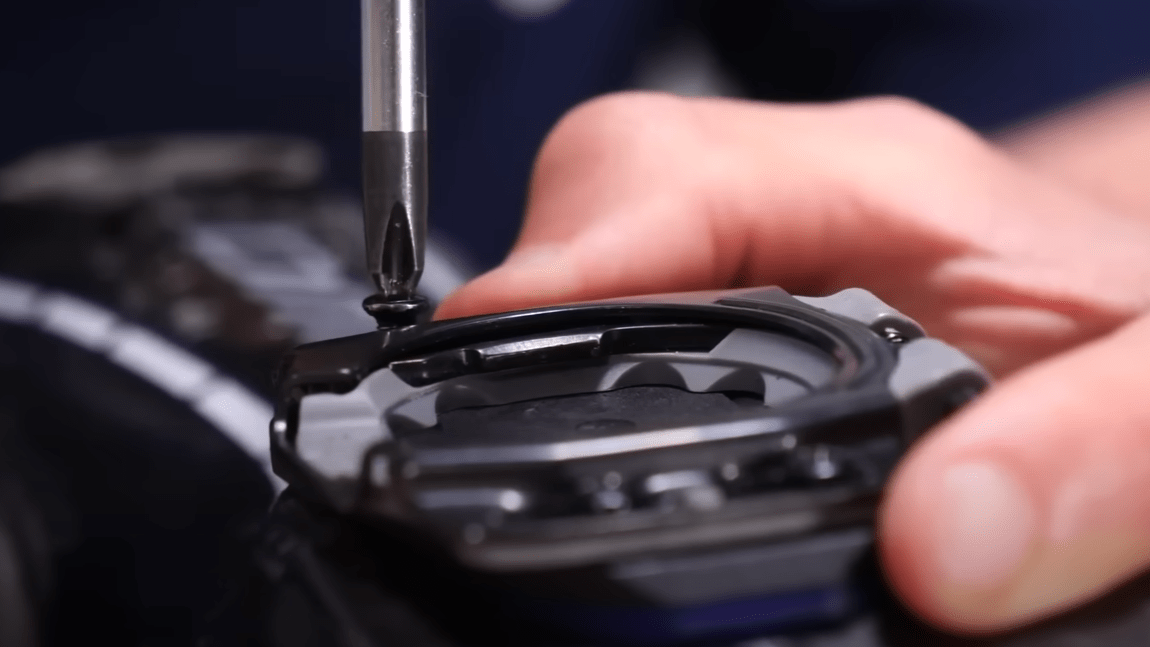
After adjusting the cleat position, securely tighten the bolts:
- Using Torque Wrench for Secure Fit: Tighten screws according to manufacturer's recommendations. This ensures the cleats are firmly attached without being overtightened.
Fine-Tuning and Testing
After installing the cleats, making small adjustments and testing their position is important to enhance comfort and performance.
Making Micro-Adjustments for Comfort
Small adjustments can make a big difference:
- Fine-Tune Cleat Position: Slightly shift the cleats forward, backward, or sideways to find the most comfortable position.
- Make sure both cleats are positioned symmetrically on each shoe for balanced pedaling.
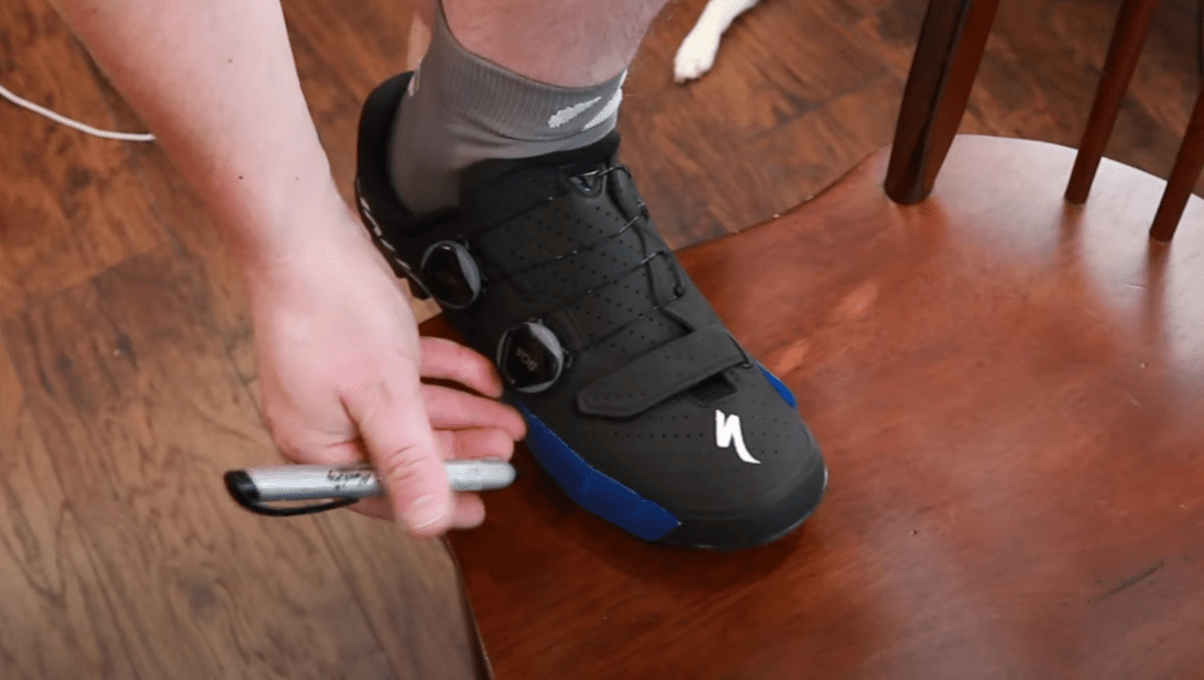
Testing Cleat Position on Bike
Testing the cleat position on your bike helps ensure that everything feels right:
- Clip into your pedals and take a short ride to see how the cleats feel.
- Pay attention to your pedal stroke and overall comfort.
Fine-tuning and testing your cleats will help you achieve a comfortable and efficient riding experience. Taking the time to get this right can improve your overall cycling performance.
Troubleshooting Common Issues
Even with careful installation, you might face some common issues. Here's how to address them effectively:
Addressing Knee Pain and Discomfort
If you experience knee pain or discomfort, the cleat position may need adjusting:
- Loosen the cleat screws slightly.
- Move the cleats backward, forward, or sideways to reduce strain.
- Tighten the screws again once you find a more comfortable position.
Fixing Loose Cleats
Loose cleats can affect your pedaling efficiency and comfort. Secure them properly:
Re-tightening with Torque Wrench:
- Check if the cleat screws are loose.
- Tighten the screws using a torque wrench at the recommended setting.
- Make sure the cleats are firmly attached but not overtightened to avoid damage.
Conclusion:
Dear pedalheads, here's the comprehensive guide to installing cleats on your cycling shoes, from A to Z! Attention to detail is key. Follow each step meticulously without rushing. Consistent maintenance is vital for keeping your cleats in prime condition and ensuring smooth, comfortable rides.
Remember, your cleats aren't just connectors; they're an extension of your identity as a rider. Install them accurately, care for them well, and they'll reward you abundantly. Until next time, keep those pedals spinning and enjoy the journey!